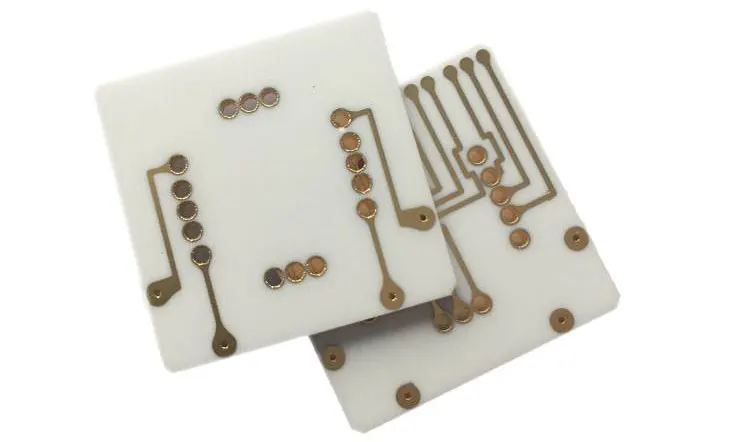
Adjusting the value of a PCB coil plays a role in electronics engineering serving as a key step in enhancing circuit performance. Through adjustments, to the coils inductance engineers can tailor its attributes to fulfill particular needs. This guide aims to offer a walkthrough on effectively adjusting a PCB coils value encompassing the essential tools, methods and testing protocols.
Importance of Coil Adjustment in PCB Design
Adjusting coils is crucial in PCB design for reasons. It is essential for ensuring that circuits using coils function in applications, like filtering, impedance matching and resonant circuits. Precise coil adjustment is necessary to make sure these circuits work as intended. For example in circuits the coils inductance must be adjusted accurately to achieve the desired resonant frequency.
Moreover adjustment the coils inductance, capacitance and resistance through coil adjustment can enhance the efficiency of PCB circuits. Engineers can customize the circuits behavior to achieve desired performance goals by making these adjustments. For example modifying the inductance of a coil, in a filter circuit can improve its ability to reduce noise effectively.
Furthermore coil adjustment serves as a means to address manufacturing tolerances inherent in PCB fabrication. Adjusting the coil can account for any changes in its properties caused by these tolerances making sure that the circuit meets all necessary standards. For instance if a coils inductance is off from what was anticipated because of manufacturing tolerances making adjustments, like adding more turns can correct this discrepancy.
Therefore, adjustable coils play a role in troubleshooting and repairing PCB circuits. They allow engineers to isolate and evaluate the coils impact on circuit issues making replacements straightforward when needed. Essentially adjusting coils is a method, in PCB design that empowers engineers to optimize functionality improve performance reduce manufacturing discrepancies and simplify troubleshooting and repair procedures.
Below are specific instance illustrating the application of coil adjustment in PCB design:
● Fine-tuning the inductance of a coil in a filter circuit to enhance noise filtering capabilities.
● Tuning the inductance of a coil in a resonant circuit to attain the desired resonant frequency.
● Compensating for inductance variations in a coil resulting from temperature fluctuation.
● Adjusting the coupling between two coils to optimize transformer performance.
● Fine-tuning the impedance of a coil to align with the impedance of other circuit component.
Factors affecting the value of a PCB coil
The value of PCB coil is mainly determined by its electrical properties. Various factors can impact the inductance of a coil, ultimately affecting its performance within a PCB circuit. Engineers need to grasp these elements to design and use coils efficiently in their PCB design. Here are the main factor that influence the value of coil.
Physical Factors:
● Number of Turns
● Coil Shape
● Core Material
● Coil Spacing
Electrical Factors:
● Wire Gauge
● Wire Insulation
● Adjacent Components
Environmental Factors:
● Temperature
Moreover the distance from neighboring coils the use of shielding for protection and variations in manufacturing precision can influence the effectiveness of a PCB coil. Engineers need to take into account these aspects when incorporating coils into PCB circuits to guarantee top notch performance and compliance, with standards.
How to Adjust the value of a PCB coil?
Two main techniques exist for tuning the value of a PCB coil each with its own unique methods to tweak the coils inductance for achieving optimal performance in a circuit.
Physical Adjustments:
● Adjusting coil spacing
● Changing coil shape
● Utilizing adjustable coil forms
Electrical Adjustments:
● Adding or removing turns
● Using variable capacitors
● Employing tapped coils
The selection of the adjustment method depends on the specific application requirements and the desired level of precision. While physical adjustments are generally simpler to implement, electrical adjustments offer finer control over inductance values, albeit potentially necessitating additional components and circuitry.
Valuable tips for adjusting coil values include starting with small adjustments. Begin by making small tweaks employ shielded test configurations to reduce outside factors, double check inductance measurements pre and post adjustments to ensure the intended value and keep detailed records of modifications for later use.
Incorporating coil adjustments can serve purposes such as improving noise reduction in filter circuits adjusting resonant frequencies in resonant circuits addressing fluctuations, in inductance caused by temperature changes enhancing transformer efficiency by fine tuning coupling and aligning impedance with other circuit components.
Tools and Equipment Needed for Adjusting the Value of a PCB Coil
To adjust the value of a PCB coil accurately and effectively you need to use tools and equipment. These tools help in measuring, testing and adjusting the coils inductance to meet requirement. Essential tool and equipment for adjusting the value of a PCB coil include:
● Inductance meter
● Variable power supply
● Multimeter
● Non-metallic tweezers
● Shielded test setup
In addition, another tools and devices that could improve the process of adjustment are:
● Adjustable coil form
● Variable capacitor
● Tapped coil
● Oscilloscope
Testing and verification of the adjusted PCB coil value
After setting the PCB coil to the desired value it is crucial to carry out testing and validation to confirm the precision and effectiveness of the adjustment. This procedure includes measuring the coils inductance and validating that it meets the specified criteria. The following steps detail how to test and validate the modified PCB coil value:
● To ensure optimal performance, begin by accurately measuring the coil’s inductance using a reliable inductance meter. Compare this measurement with the target inductance value making sure it falls within the acceptable range. If there is any discrepancy make adjustments, to the coil and re measure. Continue this iterative process of measurement and adjustment until the inductance meets the specified requirements precisely.
It’s important to check that the coil is working correctly within the circuit not measure its inductance. You can do this by watching how the coil responds in the circuit with an oscilloscope or similar test gear. For specific applications, the following examples illustrate how to test and verify the adjusted PCB coil value effectively:
● To accurately assess and optimize the circuit, connect the coil to both a signal generator and an oscilloscope. Start by examining how the filter responds to frequencies adjusting the coils inductance as required to get the desired outcome. Then check the frequency of the circuit tweaking the inductance until you hit the desired frequency. Lastly analyze how well the primary and secondary windings are interacting by observing the signal and adjust the inductance as needed for coupling.
For dependable testing of modified coil values engineers should adhere to the following guidelines:
●Utilize a shielded test setup to mitigate external magnetic field interference.
●Employ high-quality test equipment for precise measurements and analysis.
●Document all test results meticulously for future reference and evaluation.
Final Thoughts
Adjusting the value of a PCB coil demands precision, meticulous attention, to detail and comprehensive testing to guarantee top notch performance within the circuit. Engineers can attain adjustments and validate the coils functionality by adhering to the steps delineated in this manual and using the right tools and gear. Mastering the art of adjusting PCB coil values is a valuable skill that can enhance the performance and reliability of electronic systems.


